6.6 KiB
Connecting clouds the easy way, introducing Skupper
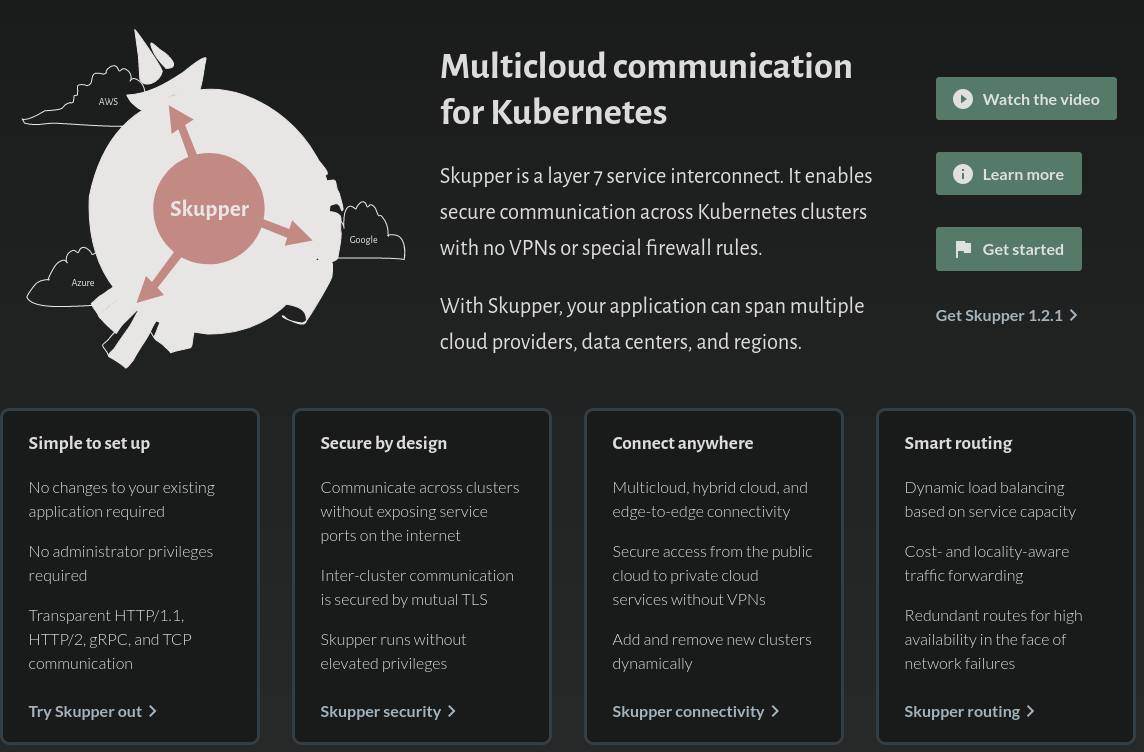
Exciting open source project Skupper opens up new opportunities for hybrid cloud and application migration, solving all manner of tricky multi-cluster and traditional infrastructure integration challenges.
In this session we will explore Skupper together, with live demos focused on overcoming the business challenges many of us encounter along our cloud native journeys.
Demo one - progressive migration
For our first demo we will highlight the possibility of progressive migrations, using the virtual application network of skupper to join two kubernetes clusters together so that we can have some application components migrated to a new cluster while the remaining application components continue to run in the old cluster.
Install skupper cli
The skupper command-line tool is the primary entrypoint for installing and configuring the Skupper infrastructure. You need to install the skupper cli only once for each development environment.
We can use the provided install script to install skupper:
curl https://skupper.io/install.sh | sh && skupper versionDeploy demo workload on premises
Before we get into deploying skupper lets get familiar with our demo workload which is a traditional three tier container based application for a medical clinic consisting of postgres database, java backend service and web frontend.
# Set kubeconfig
export KUBECONFIG=$HOME/.kube/config

# Ensure namespace exists & set context
kubectl create namespace demo-onprem --dry-run=client -o yaml | kubectl apply -f -
kubectl config set-context --current --namespace demo-onprem

# Create deployments and services
kubectl create -f 1-progressive-migration/database.yaml
kubectl rollout status deployment/database

kubectl create -f 1-progressive-migration/backend.yaml
kubectl rollout status deployment/payment-processor

kubectl create -f 1-progressive-migration/frontend.yaml
kubectl rollout status deployment/frontend

# Launch application in browser
flatpak run org.chromium.Chromium --new-window "http://localhost:8080"

# Start port forward
kubectl port-forward  --pod-running-timeout=10s deployment/frontend 8080 &
Initialise skupper on premises
Once we have skupper client installed and a workload running lets initialise skupper in the kubernetes cluster running on our local machine, this will be our "private" / "on premise" cluster for the purposes of the demo.
skupper init && skupper statusWith skupper initialised lets take a look at the included web console:
# Retrieve skupper credentials
export password=$(kubectl get secret skupper-console-users -o json | jq -r '.data.admin' | base64 --decode)

# Retrieve console url
export console=$(kubectl get service skupper --output jsonpath="{.status.loadBalancer.ingress[0].ip}")

# Open skupper console
flatpak run org.chromium.Chromium --new-window "https://admin:${password}@${console}:8080"
Initialise skupper in public cluster
So we've been tasked with migrating this application to public cloud, rather than doing a big bang migration lets use skupper to perform a progressive migration. Our first step is to setup skupper in our public cloud cluster.
# Ensure namespace exists
kubectl --kubeconfig=$HOME/.kube/rosa create namespace demo-public --dry-run=client -o yaml | kubectl --kubeconfig=$HOME/.kube/rosa apply -f -

# Initialise skupper
skupper --kubeconfig=$HOME/.kube/rosa --namespace demo-public init
Link public and private clusters
Creating a link requires use of two skupper commands in conjunction, skupper token create and skupper link create.
The skupper token create command generates a secret token that signifies permission to create a link. The token also carries the link details. Then, in a remote namespace, The skupper link create command uses the token to create a link to the namespace that generated it.
First, use skupper token create in one namespace to generate the token. Then, use skupper link create in the other to create a link.
# Create the token on public
skupper --kubeconfig=$HOME/.kube/rosa --namespace demo-public token create 1-progressive-migration/secret.token

# Initiate the link from private
skupper link create --name "van" 1-progressive-migration/secret.token
Now that we have linked our clusters lets review the skupper interface to confirm that new link is present.
# Open skupper console
flatpak run org.chromium.Chromium --new-window "https://admin:${password}@${console}:8080"
Expose backend service to public cluster
With a virtual application network in place lets use it to expose our backend service to our public cluster.
# Show list of services on public cluster
kubectl get svc --kubeconfig $HOME/.kube/rosa --namespace demo-public

# Expose the services to the skupper network
skupper expose deployment/payment-processor --port 8080
skupper expose deployment/database --port 5432

# Show list of services after expose
kubectl get svc --kubeconfig $HOME/.kube/rosa --namespace demo-public

# Describe the new service
kubectl describe svc --kubeconfig $HOME/.kube/rosa --namespace demo-public payment-processor
Migrate frontend to public cluster
Our backend service is now available in our public cluster thanks to our skupper virtual application network so lets proceed with our cloud migration for our frontend.
# Deploy a fresh set of frontend replicas on public cluster
kubectl --kubeconfig $HOME/.kube/rosa --namespace demo-public create -f 1-progressive-migration/frontend.yaml
kubectl --kubeconfig $HOME/.kube/rosa --namespace demo-public rollout status deployment/frontend

# Tear down the old frontend on premises
kubectl delete -f 1-progressive-migration/frontend.yaml